An AMM is basically a method of facilitating trading without the need for a middleman to carry out the trade. Instead, automatic, permissionless trading on Spookyswap is powered by liquidity pools.
This tutorial will show you how to swap, bridge tokens, provide liquidity and stake on the platform.
Tutorial
When you head to Spookyswap’s official website, the first thing you’ll need to do is connect your wallet. For this tutorial, we’ll be using MetaMask. If you don’t already have a Metamask wallet, click here for a full beginner’s tutorial on setting up and using the browser extension version.
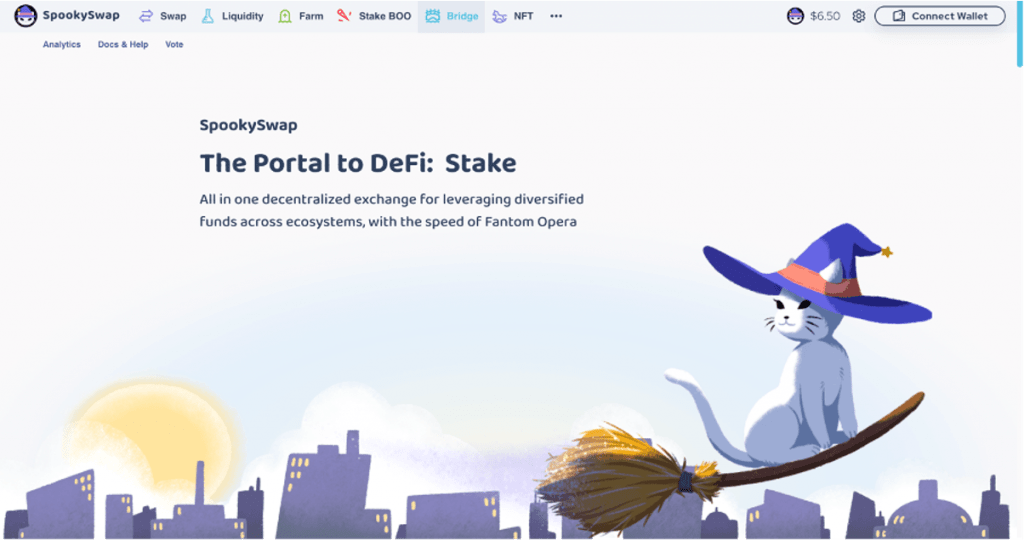
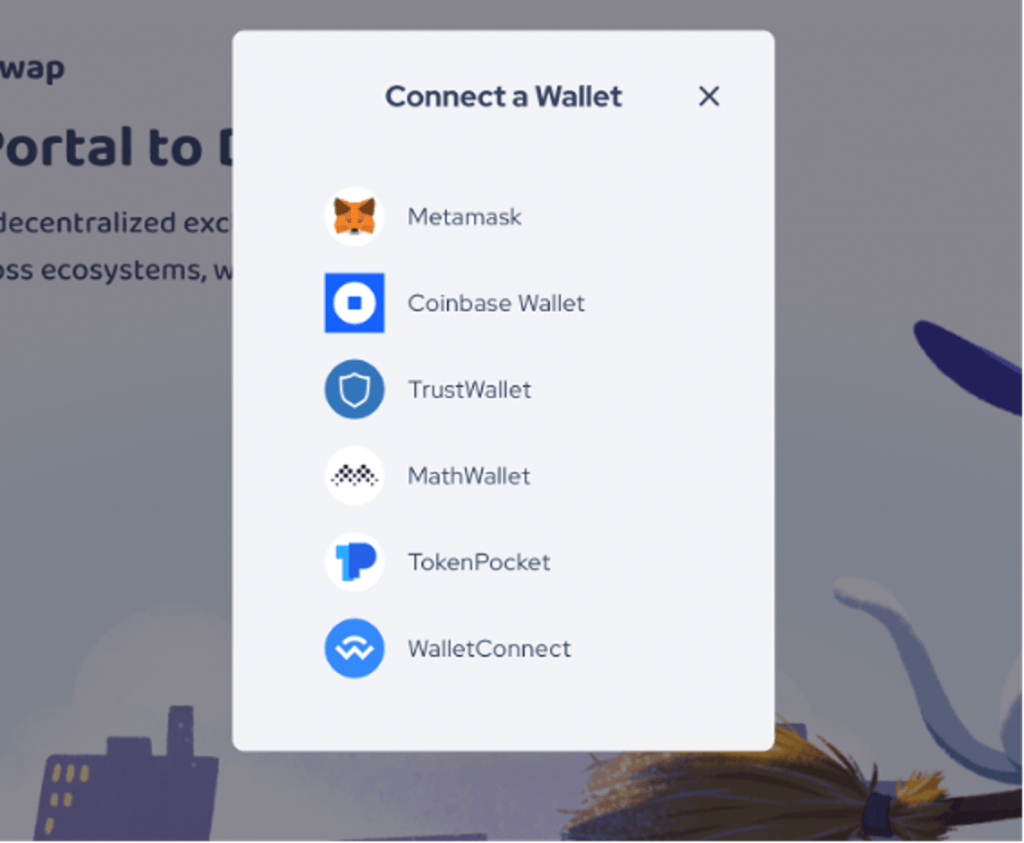
The process of connecting your wallet is very straightforward, simply click the ‘connect wallet’ button and follow the prompts to approve the connection.
Swapping tokens
Spookyswap allows users to easily exchange tokens on the Fantom network. To start, click ‘swap’ at the top of your screen. Here, you will have a ‘market’ tab and a ‘limit’ tab.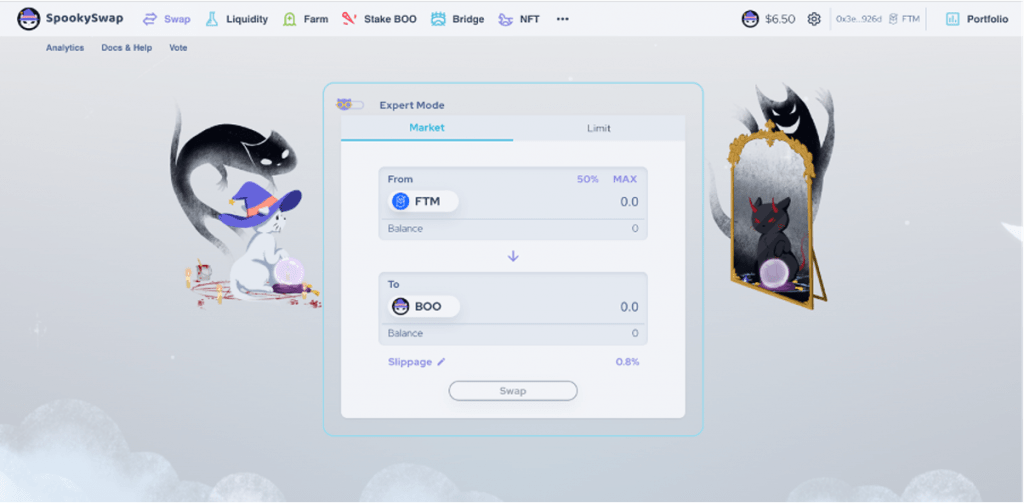
In the market tab, you choose the amount of crypto you want to swap, whereas the limit tab enables you to choose the amount and specify a price for the swap.
Market order
Although you don’t get to choose the swap price, you can swap almost instantly. In the market tab, select the token you want to swap and the token you want to swap it into. Once you enter the amount you want to exchange, the corresponding amount of the token you can expect to receive will be displayed.
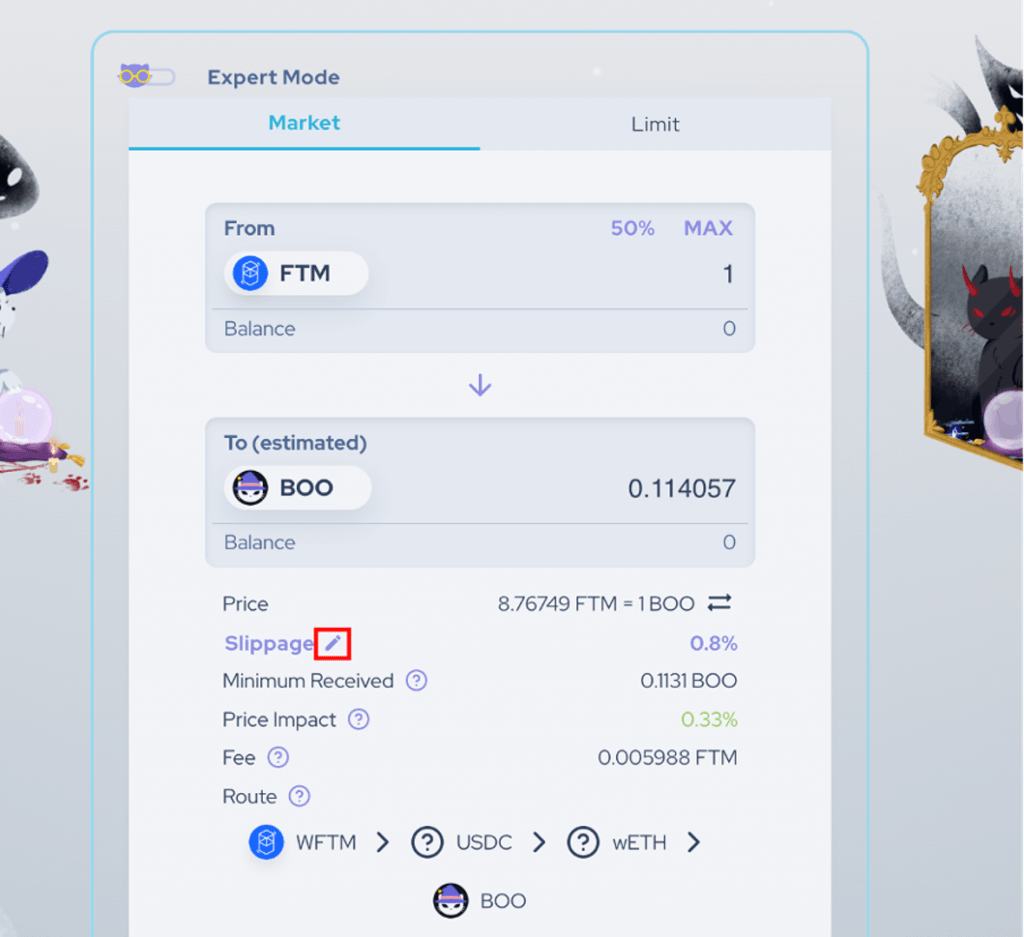
Below this, you’ll see the estimated exchange rate, the minimum amount of tokens you can expect to receive from the swap and the price impact your swap will have on the liquidity pool. Note that Spookyswap charges a 0.2% fee which is payable in the token you’re swapping.
Because we’re using a decentralised exchange that is influenced by supply and demand, the price of the swap can vary slightly from the time you begin the transaction to the time it is processed. The slippage tolerance is used to represent the level of price fluctuation you are ok with.
Spookyswap will auto-generate a slippage tolerance rate for you, and most people tend to stick with that. If you want to specify your own slippage tolerance, you can click on the pen icon highlighted in red in the above image, which will bring you to the settings page.
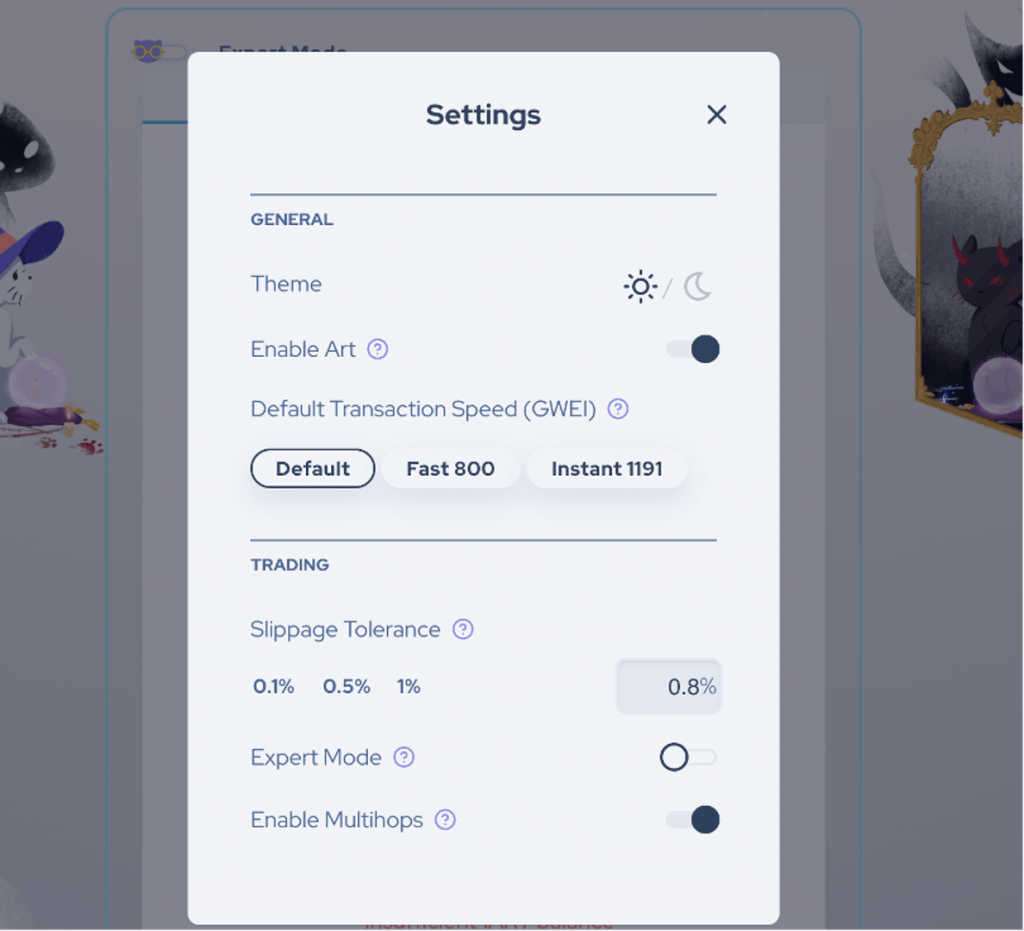
Here you can also alter the transaction speed, but note that you’ll pay slightly higher gas (transaction) fees for higher speeds. Transaction speeds are quick on Fantom, so most people stick with the default option.
The ‘enable multihops’ feature is turned on by default. This essentially gives the platform permission to hop through different currency pairs to get you the best rates; again, most people leave this on.
Once you’re happy, press ‘swap’ to process the transaction. You’ll have to pay a very small gas fee and confirm the transaction in your MetaMask wallet.
Limit order
As mentioned, the limit tab allows you to specify a market price that you want to trade at.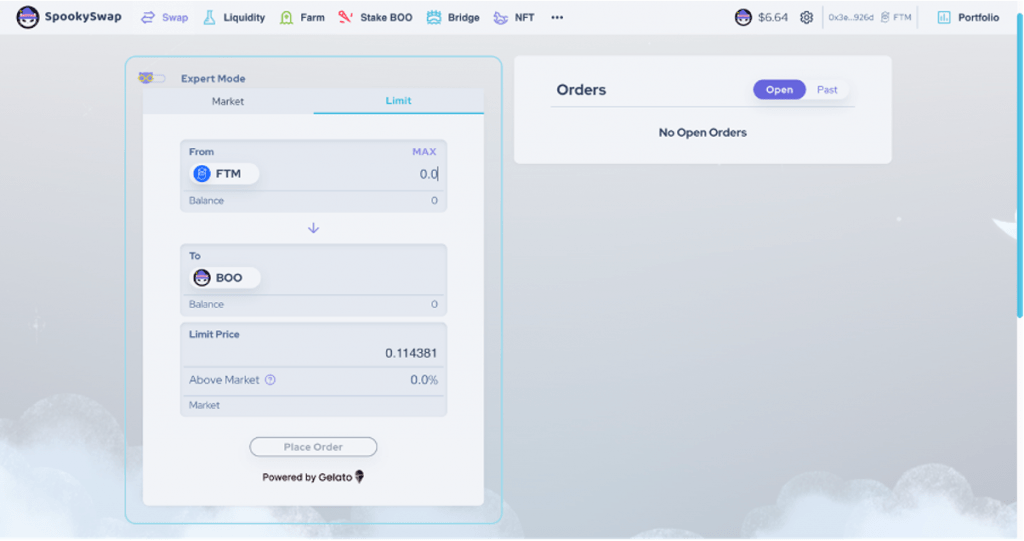
Again, you’ll first need to select the token you want to swap and the token you want to swap it into. The current price for the swap will be displayed; if you want to sell your token in exchange for another at a slightly higher price than the market, you can specify a new price or specify an above-market percentage.
Once you place the order, it will be visible in the open orders section. If the market reaches your specified price, your order will be processed.
Spookyswap Bridge
If you have Fantom-based tokens on another network, you can easily bridge them to the Fantom Mainnet using Spookyswap’s built-in bridging service. To do this, click ‘bridge’ near the top of your screen.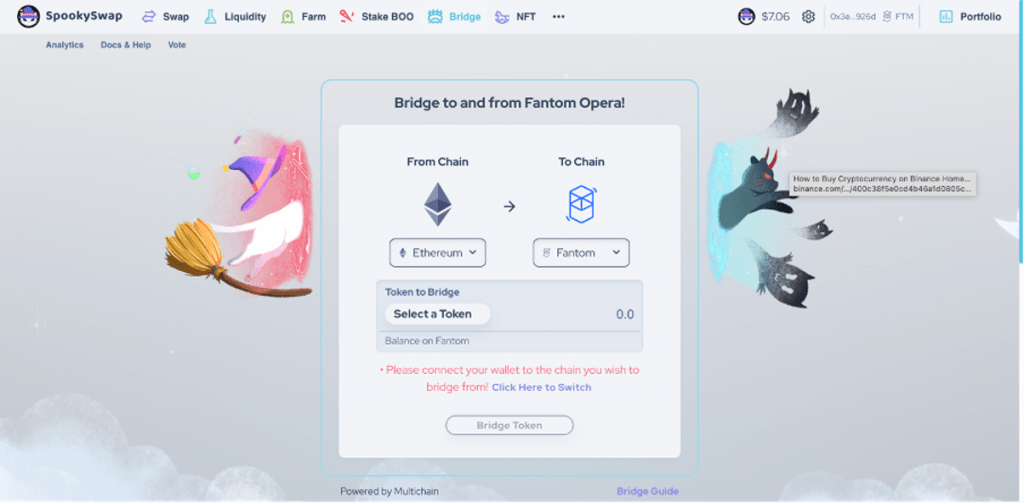
As highlighted in the above image, you’ll first need to switch your wallet to the network you are bridging from (i.e. in this case Ethereum).
Once you have that done, select the type and amount of the token you would like to bridge. Click ‘bridge token’ to process the transaction. You will have to confirm the transaction in your wallet and pay the gas fee associated with the network you are sending from. Spookswap notes that bridging transactions can take anywhere from 10 minutes to 24 hours to complete depending on the traffic.
Providing liquidity
NOTE: An important risk to consider when supplying liquidity is impermanent loss. This is a phenomenon where liquidity providers can end up with less value than what could have been realised by simply holding onto the staked assets (e.g. in a crypto wallet).It is essential to have a good understanding of impermanent loss before providing assets to a liquidity pool. Before continuing with this tutorial, we highly recommend reading our pro article, which provides a more detailed explanation and practical example of impermanent loss.
To start, click the liquidity tab at the top of your screen.
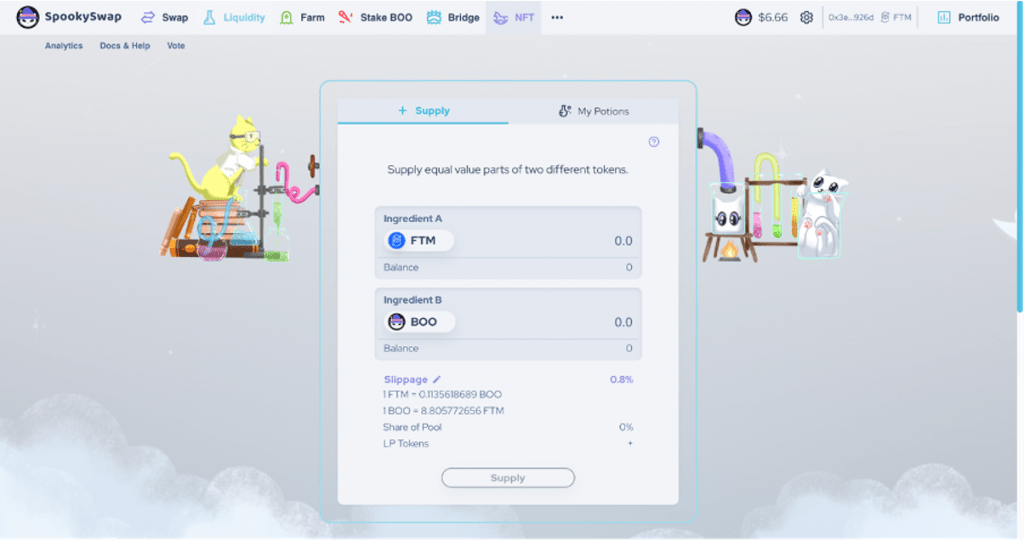
Next, choose the pair of tokens that you would like to supply. Note that as a Liquidity provider (LP), you’re required to provide trading pairs in a set ratio. Therefore, when you enter the amount of one token you want to supply, the corresponding amount of the other token you will need to supply will be displayed.
As always, it’s really important that you do your own research into the different types of liquidity pools available. Click ‘supply’ to process the transaction. You will be prompted to confirm the transaction with your wallet and will have to pay a small gas (transaction) fee.
As an LP, you are given Spooky Liquidity Provider tokens (spLP tokens) in proportion to your share of the pool. These tokens act as a receipt of ownership but will also begin to automatically earn yield from trading fees (0.17% of the 0.2% swap fee is distributed out to liquidity providers).
Click liquidity -> my potions to view your liquidity positions.
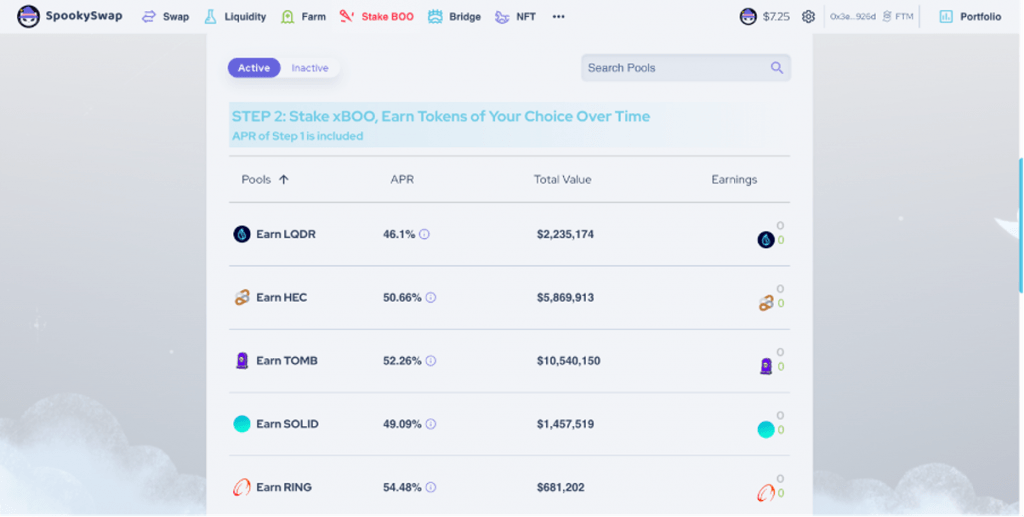
Farming LP tokens
The farm tab is where you can stake your spLP tokens to earn additional yield. The total liquidity, type of token earned and APR (this is the liquidity provider and staking return rate added together, click the ‘i’ icon, to get a breakdown) are displayed for each trading pair pool.Although some of the staking APRs appear to be quite high, they are generally in proportion to the risk of impermanent loss that is subject to each liquidity pool.
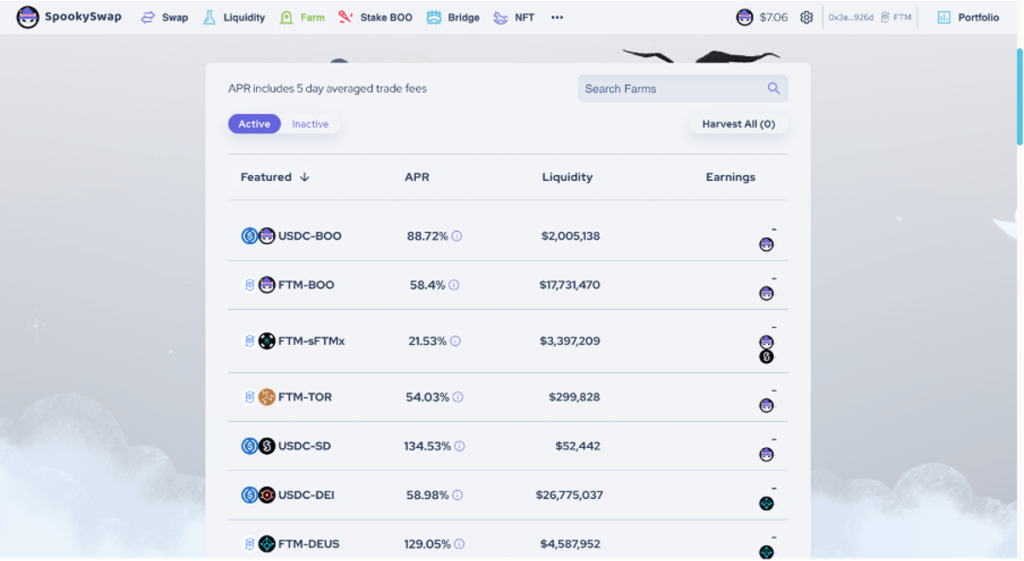
To stake your spLP tokens, simply click on the trading pair that you have provided liquidity for. If this is your first time staking with this pool, you’ll need to approve access to your spLP tokens.
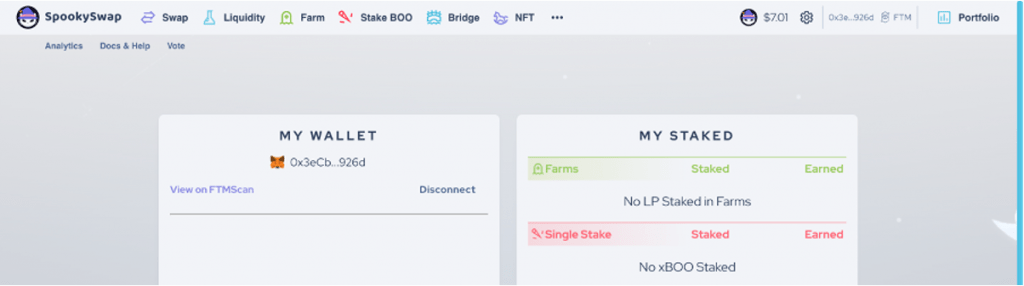
Once this is done, click ‘stake’ and enter the number of tokens you want to stake. Click ‘confirm’ to process the transaction. To view your farm position, click on the ‘portfolio’ button in the top left of your screen.
Note: your spLPs tokens must be unstaked before you can withdraw your liquidity.
Staking BOO
Spookyswap also allows users to stake BOO tokens- the protocol’s native token. BOO also serves as a governance token, meaning that holders can use their tokens to vote on proposed protocol changes.If you have some BOO that you would like to stake, start by clicking ‘stake BOO’ at the top of your screen.

The process is pretty similar to staking spLP tokens. If this is your first time staking BOO on Spookyswap, you’ll need to approve access to your BOO tokens. Next click ‘stake’ and enter the amount of BOO you want to stake. Click ‘confirm’ to process the transaction.
In return, you’ll receive xBOO tokens in proportion to your share of the pool. Similar to the spLP tokens, these tokens act as a receipt of ownership but will also begin to accumulate yield.
You can also stake your xBOO tokens in partner pools to earn other tokens.
Note: your xBOO tokens must be unstaked before you can reclaim your BOO.
Disclaimer: THIS IS NOT FINANCIAL OR INVESTMENT ADVICE. Only you are responsible for any capital-related decisions you make, and only you are accountable for the results.
Comment and share if you found this tutorial useful! Also let us know what tutorials you’d like to see next!
100% Success Money Back Guarantee
If our approach doesn’t outperform the overall crypto market during your subscription, we’ll give you a full refund of your membership. No questions asked. For quarterly and monthly subscribers this is applicable once your subscription runs for 6 consecutive months.
Take your next step towards crypto success
$799/year
Get everything you need to actively manage your portfolio and stay ahead. Ideal for investors seeking regular guidance and access to tools that help make informed decisions.
For your security, all orders are processed on a secured server.
What’s included in Pro:
Success Guarantee, if we don’t outperform the market, you get 100% back, no questions asked
24/7 access to experts with 50+ years’ experience
All of our top token picks for 2025
Our latest memecoins pick with 50X potential
On hand technical analysis on any token of your choice
Weekly livestreams & ask us anything with the team
Daily insights on Macro, Mechanics, and On-chain
Curated list of top upcoming airdrops (free money)
Our track record speaks for itself
With over 2.4M tokens and widespread misinformation in crypto, we cut
through the noise and consistently find winning assets.


Frequently Asked Questions
Can I trust Cryptonary's calls?
Yes. We've consistently identified winners across multiple cycles. Bitcoin under $1,000, Ethereum under $70, Solana under $10, WIF from $0.003 to $5, PopCat from $0.004 to $2, SPX blasting past $1.70, and our latest pick has already 200X'd since June 2025. Everything is timestamped and public record.
Do I need to be an experienced trader or investor to benefit?
No. When we founded Cryptonary in 2017 the market was new to everyone. We intentionally created content that was easy to understand and actionable. That foundational principle is the crux of Cryptonary. Taking complex ideas and opportunities and presenting them in a way a 10 year old could understand.
What makes Cryptonary different from free crypto content on YouTube or Twitter?
Signal vs noise. We filter out 99.9% of garbage projects, provide data backed analysis, and have a proven track record of finding winners. Not to mention since Cryptonary's inception in 2017 we have never taken investment, sponsorship or partnership. Compare this to pretty much everyone else, no track record, and a long list of partnerships that cloud judgements.
Why is there no trial or refund policy?
We share highly sensitive, time-critical research. Once it's out, it can't be "returned." That's why membership is annual only. Crypto success takes time and commitment. If someone is not willing to invest 12 months into their future, there is no place for them at Cryptonary.
Do I get direct access to the Cryptonary team?
Yes. You will have 24/7 to the team that bought you BTC at $1,000, ETH at $70, and SOL at $10. Through our community chats, live Q&As, and member only channels, you can ask questions and interact directly with the team. Our team has over 50 years of combined experience which you can tap into every single day.
How often is content updated?
Daily. We provide real-time updates, weekly reports, emergency alerts, and live Q&As when the markets move fast. In crypto, the market moves fast, in Cryptonary, we move faster.
How does the success guarantee work?
If our approach to the market doesn’t beat the overall crypto market during your subscription, we’ll give you a full refund of your membership fee. No questions asked. For quarterly and monthly subscribers this is applicable once your subscription runs for 6 consecutive months.
Recommended from Cryptonary